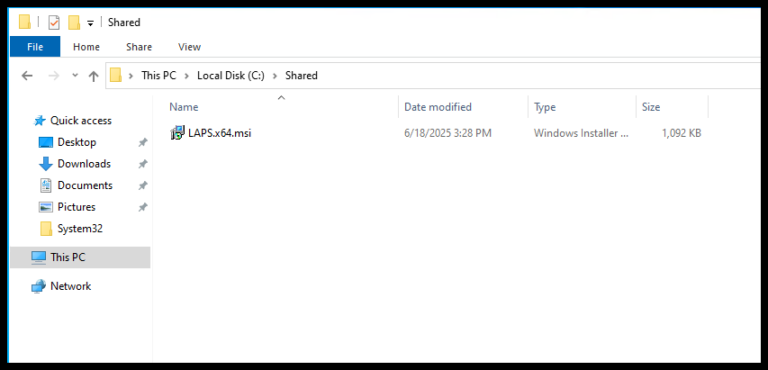
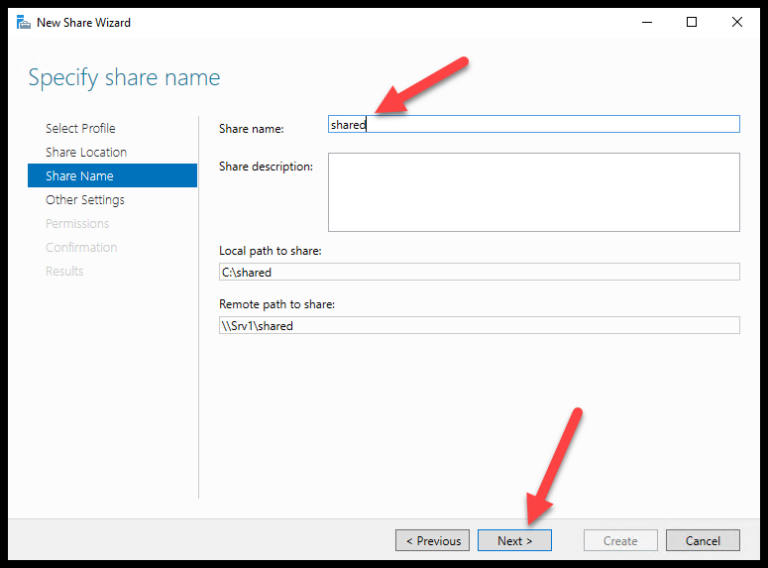
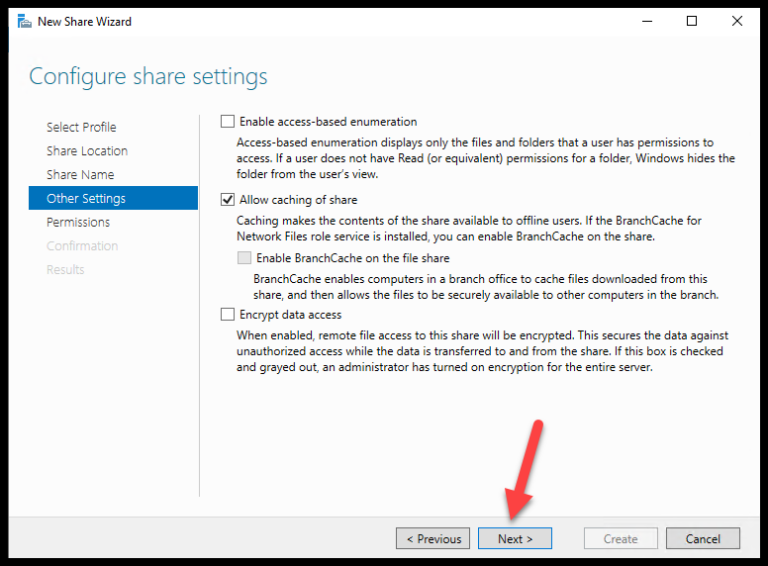
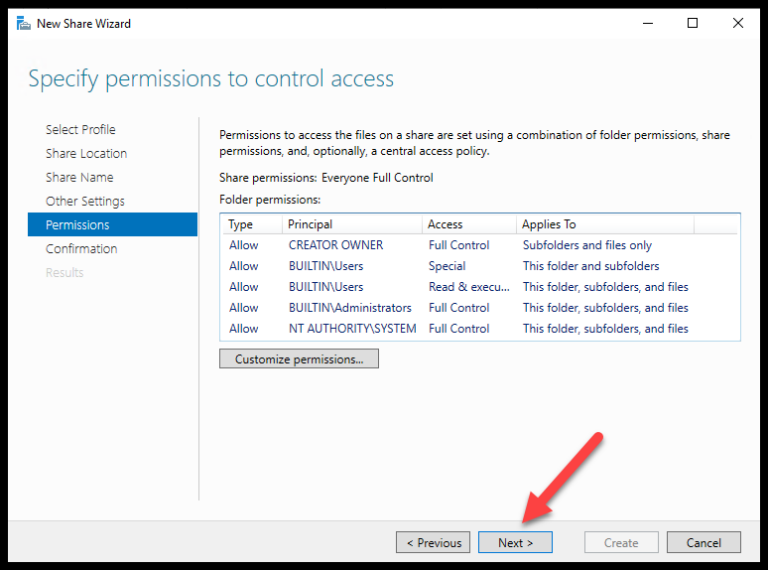
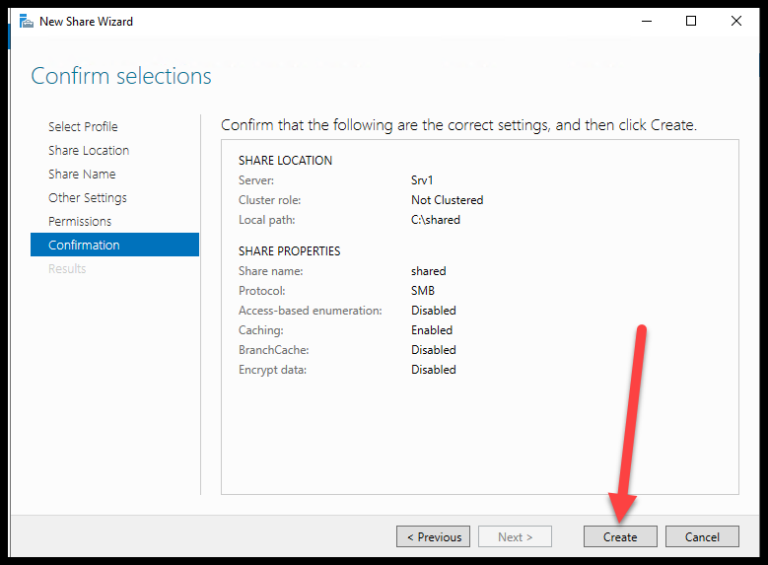
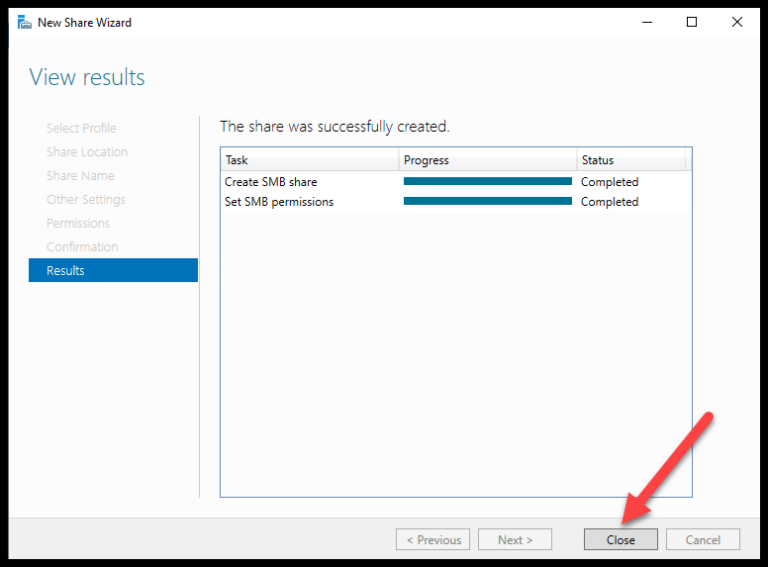
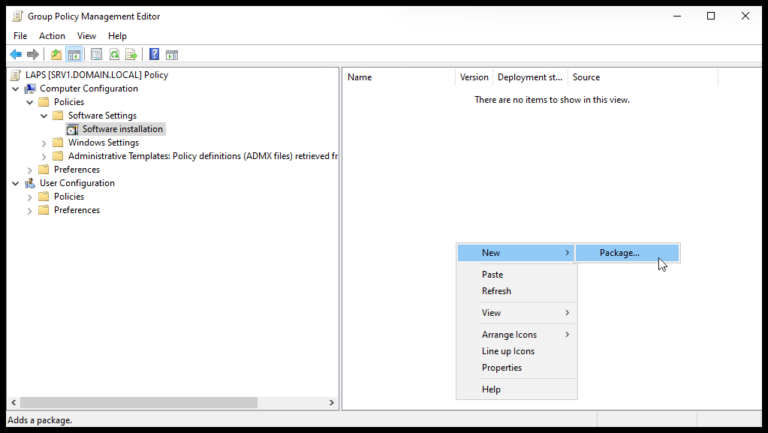
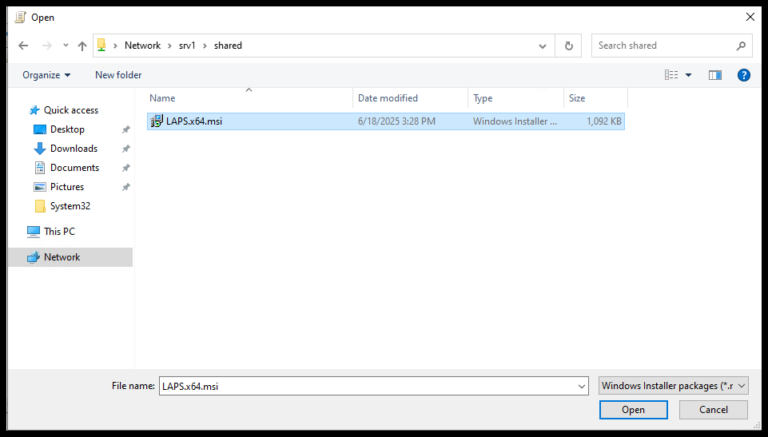
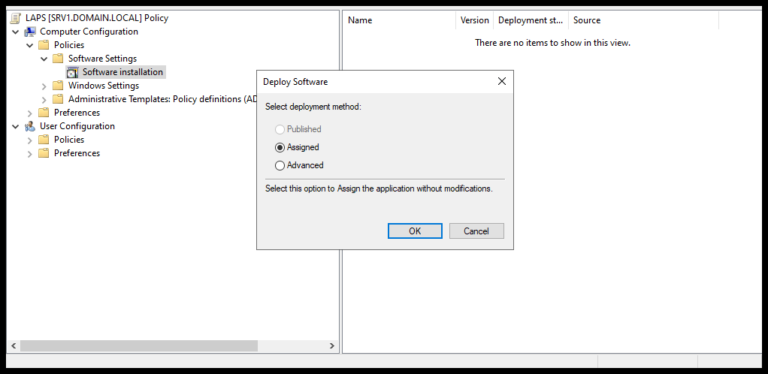
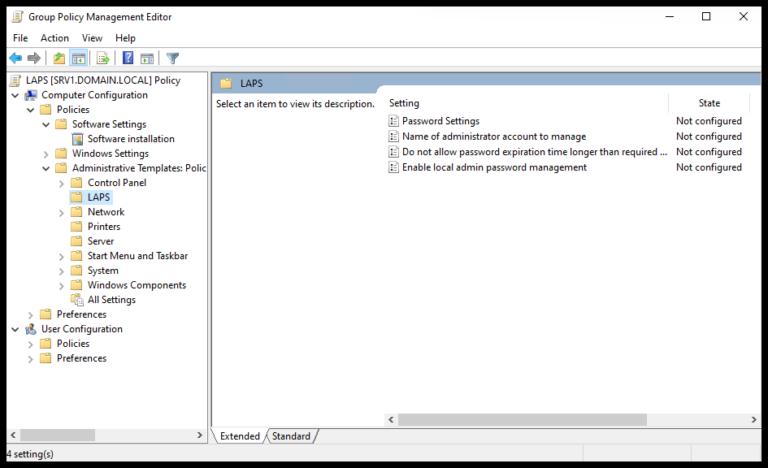
How to setup Windows LAPS (Local Administrator Password Solution)

With so many cyber attacks you need to setup multiple layers of security. One way attackers gain access to networks is through end user computers. Are you using the built-in Administrator account? Using the same password on all of your endpoints?
In this post I’ll go over how you can setup individual admin passwords for each computer, rotate them and manage centrally using MS Active Directory.

In 2015 Microsoft developed a free password rotation system for local Windows admin accounts called LAPS. Microsoft redesigned LAPS in 2023 and rebranded it as Windows LAPS. 

In this post we’ll go over the steps required to implement Windows LAPS.


Agenda

Requirements:

  1. Windows Versions

    In order for Windows LAPS to work you need Windows 10 or 11 for endpoints and Windows Server 2019/2022 and Server 2016 with limited support. (I have not tested with Windows 2025)

  2. Active Directory

    This will only work in an Active Directory domain and schema running at functional level 2016.

  3. Permissions

    The user setting this up will need domain level administrative permissions to setup LAPS on the server and local administrator privileges on the endpoint devices. The user will also need permissions to create a share on the server, or where ever that share ends up being created.

  4. Management Tools

    You need to have Powershell 2.0 or higher and the .NET Framework 4.0 or later. (both of these should already be installed on your domain controllers.)

Installing Windows LAPS on Domain Controller

From one of your domain controllers navigate to https://www.microsoft.com/en-us/download/details.aspx?id=46899 and download the Windows LAPS program (choose the x64 version)

download LAPS

Run the msi you just downloaded. Make sure you choose all of the features for install before completing the installation.

Install all features for LAPS

Run Powershell commands

From the Domain Controller open up Powershell as Administrator and run the following commands:

Import-Module AdmPwd.ps
Update-AdmPwdADSchema

If all goes well you should see same as below.

Running powershell commands for LAPS

Open Active Directory Users and Computers with Advanced features selected (from same DC), to verify attributes are installed. Once opened find the DC you are working from and right mouse click it and choose Properties. Open Attribute Editor tab and look for ms-Mcs-AdmPwd and ms-Mcs-AdmPwdExpirationTime

Locate Attributes

Back to Powershell (same DC) and run these commands: (Replace Test with your own OU.)

Set-AdmPwdComputerSelfPermission -OrgUnit Test ### delegates permissions for OU

Find-AdmPwdExtendedRights -Identity Test ### Verifies who has permissions for OU

Set-AdmPwdReadPasswordPermission -Identity Test -AllowedPrincipals “HelpDesk”

Step above is only required if you aren’t using an account with delegate priviledges to OU. Replace HelpDesk group with your group.

Find-AdmPwdExtendedRights -Identity Test | fl  ### displays who has delegate rights to this OU

Create Share

Now we need a place to store and share our LAPS client. I’ve created a folder called SHARED on my domain controller, but this share can be anywhere that’s accessible to your clients.

create a folder to share the client

Copy the client file you downloaded to this folder.

Copy Client To Shared Folder

Now that we have folder created and the client copied into the folder we need to setup the share. Launch Server Manager –> File and Storage Services –> Shares then choose Tasks pulldown and New Share… 

Open Server Manager Choose New Share

The New Share wizard will popup. Choose the SMB Share – Quick profile  option and hit Next.

Choose Quick Share and Next

After hitting Next you’ll see options for the share location. Choose the Custom Path at the bottom and hit Browse to find the folder we created earlier. Then hit Next.

Choose the Location of the folder

Now you’ll see a screen asking you to name the share location. You can make this any descriptive name you want. I’m going withe default and hitting Next. 

Name the newly created share

This next screen is for optional  settings. I’m going to leave the default to allow caching and hit Next.

Optional Settings for Share

You should now be at the permissions page. The default permissions gives us read access so I’m going to hit Next.

Default Permissions to share

Now, confirm the settings before hitting Create.

Confirm Share Settings

After hitting create you’ll see the final page before closing out.

Share setup process complete

Create Group Policy Object

Now that we have the share setup we need a way to push out the client and configure LAPS in Group Policy Management.

Launch Group Policy Management from the domain controller (or if you have it installed locally.) Choose to create a new Group Policy Object by right-mouse clicking one of the Organizational Units. Then, from within the new GPO, navigate to Computer Configuration –> Policies –> Software Settings –> Software Installation and right-mouse click in the open space and choose New –> Package 

Create new GPO

When you hit the Package… option a screen will come up asking for the shared location. Make sure you use the UNC location starting with \\ and not the physical address (ie… C:\), find the file and then choose Open. (my UNC was \\Srv1\Shared)

Navigate to Location of Shared File

The next screen asks for deployment method. We’ll go with default which is Assigned and hit OK

Choose Deploy Method

After hitting OK, you’ll be taken back to GPO. Now, open Administrative Templates where you should see the LAPS option. Click on that to see the password options on the right.

NOTE: If you don’t see LAPS follow my troubleshooting instructions here.

Open LAPS option

Let’s look at each of the four LAPS settings. First we’ll look at Password Settings. Double-click to open it. You’ll need to enable it if you want to setup password complexity settings. I went with the defaults. Then hit OK.

Password Settings / Strength

The next setting is the name of the administrator account you want to manage. This needs to be an account that already exists locally. Set the name and hit OK. (Best practice is to enter a username that is not the built in Administrator account, but that account is now disabled on Windows 11 by default so it’s up to you.)

Setup the Local Administrator name

The next setting is the password expiration time. By enabling this setting your device will rotate the admin password immediately if the device is outside of the password expiration date. (example: a laptop was powered off for months and expiration policy is 30 days, when you power back on the password will change immediately)

Password Expiration policy

The last setting is required to manage the local admin password so we’ll enable that and hit OK to complete these settings.

Enable local admin password management

Our last step before we leave Group Policy Management is to link our new group policy object to the OU where our computer resides. Our new GPO is called LAPS.

Link the new GPO to an OU

Apply and Test GPO

We now have everything setup on the server side. We’ll move over to the client and update the group policies that are applied then test it out, but before we do that we need to create the new local administrator account on the client we’re testing from.

Create local admin account

To force a group policy update on our client we’ll run gpupdate /force which will bring down our new LAPS client and settings. You’ll get the message asking to reboot. 

Run gpupdate to force policy download

Now that the policy has been applied we can test out our new admin password. First, we need to open the LAPS program from our domain controller and enter the client computer name to retrieve the password.

Run LAPS to get password for our client machine.

If we switch back to the client machine and use the password generated by LAPS we should be able to login. Presto, it works!

LAPS login works

There you go. A free solution to rotate passwords for your local administrator accounts. I hope this post was helpful in securing your network.